Table of Contents
When I first started building surfboards, there were no hobbyist grade jigs or templates for installing fin boxes. At the time many companies were still making boards with glassed on fins, FCS plugs were just starting to appear in the market and could be installed with just a hole drill (FCS fin plugs suck IMHO, they were so bad, lost so many fins to bottom strikes, they pivoted and created the Fusion style fin box).
Futures Fins are my preferred fin system but their installation system was a few hundred dollars and you needed a router. It was out of my price range at the time since I was just starting in my surfboard building adventures and I was a student.
There are some third party jigs now, I reviewed a few by Greenlight surf supply, that work awesome and are priced reasonably, I recommend them. However, now we can utilize 3D printing to make our own jigs at home. Having said that I totally started out installing fin boxes and leash plugs using just a Dremel rotary tool or cut out tool and carved out the openings for them manually. It was not the best but it worked.
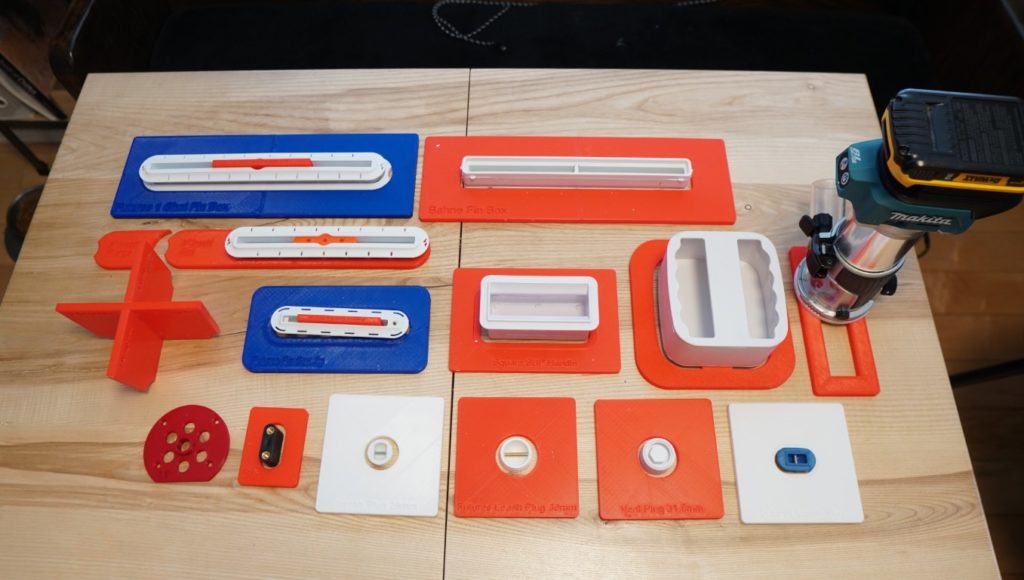
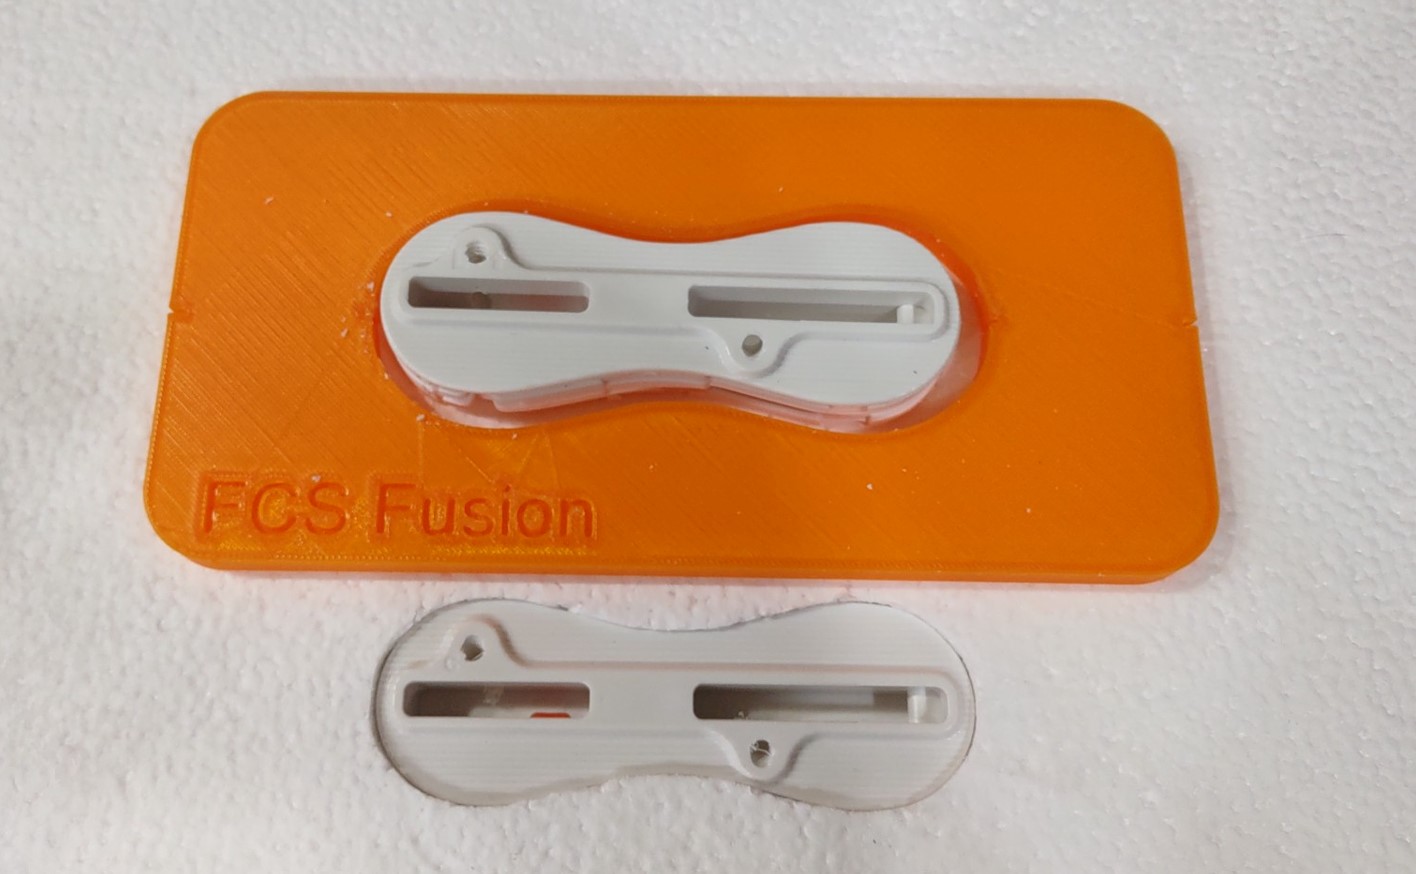
I learned how to do 3D modeling when I built my own jet pump, so now anytime I can find an excuse to solve a problem with 3D printing I am all in. I modeled a bunch of jigs for all the fin boxes, plugs and handles I personally use. Sorry to all the FCS Fusion fans out there, I don’t use those fin boxes but the next time I place a surf supply order, I will add one to my order so I can model the box and share it with you, so coming soon. I also modeled custom router bases that work with the jigs and a Makita trim router.
Router Jigs STL Files
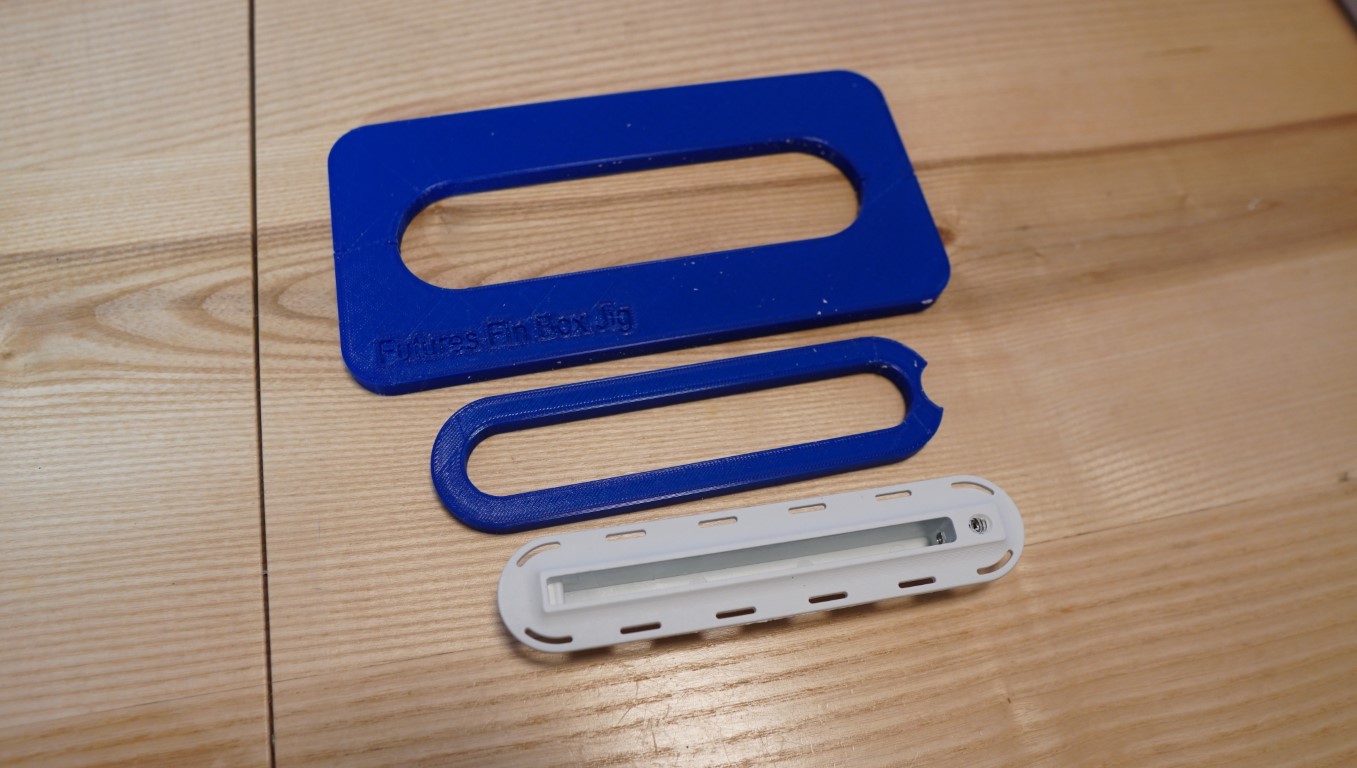
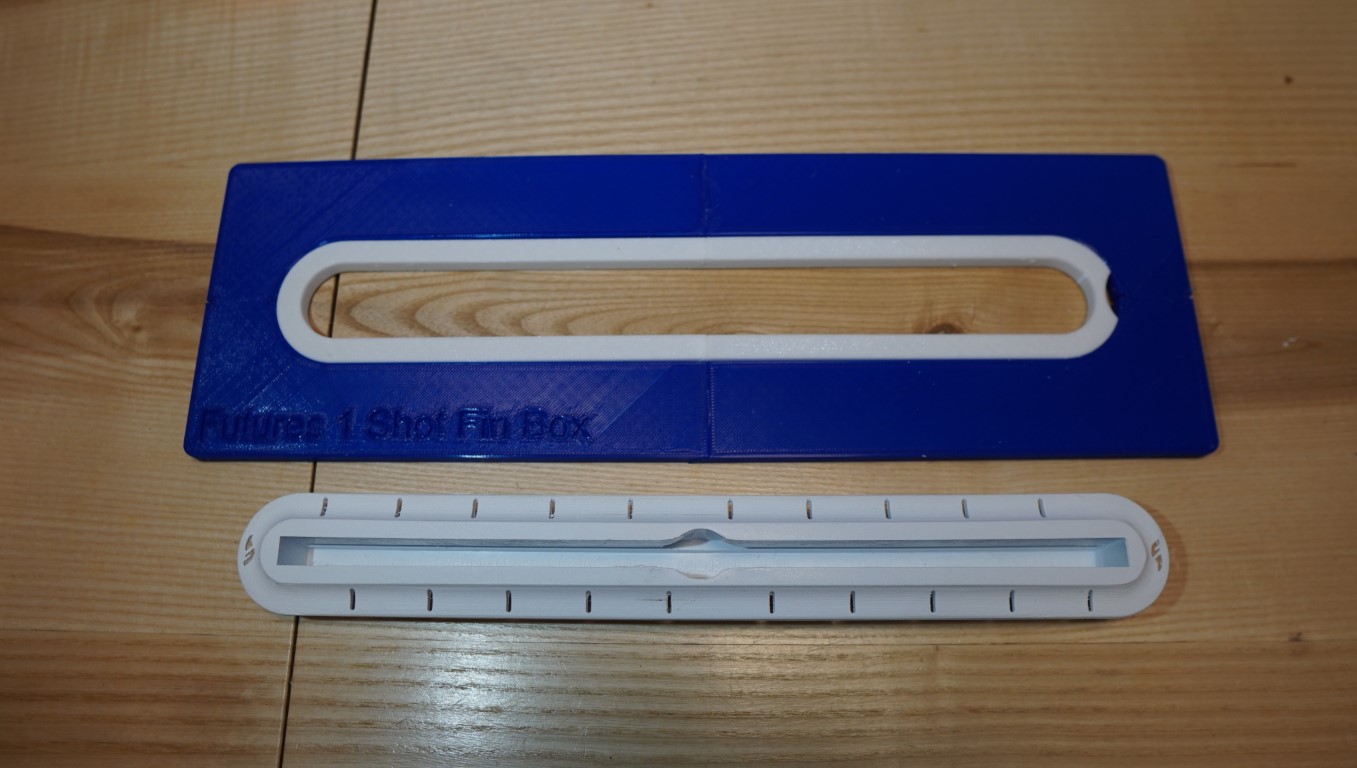
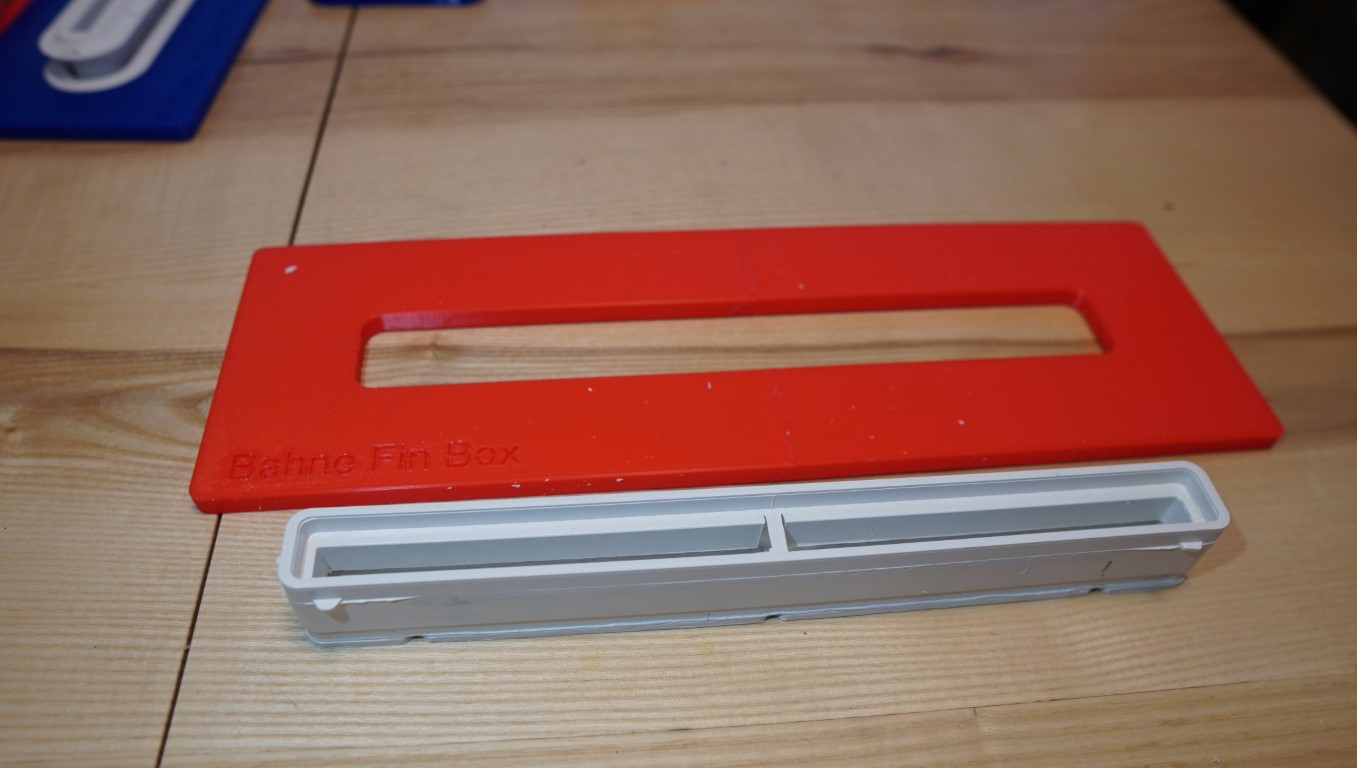
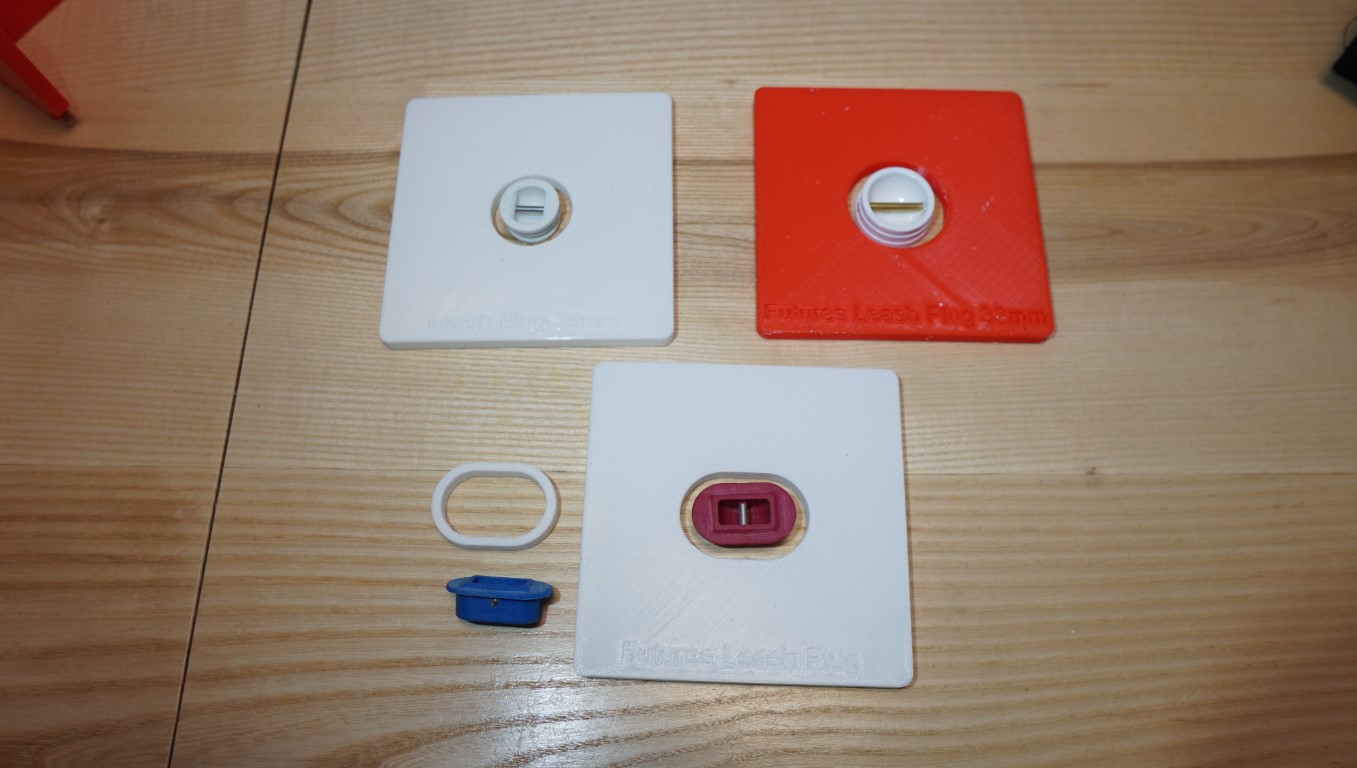
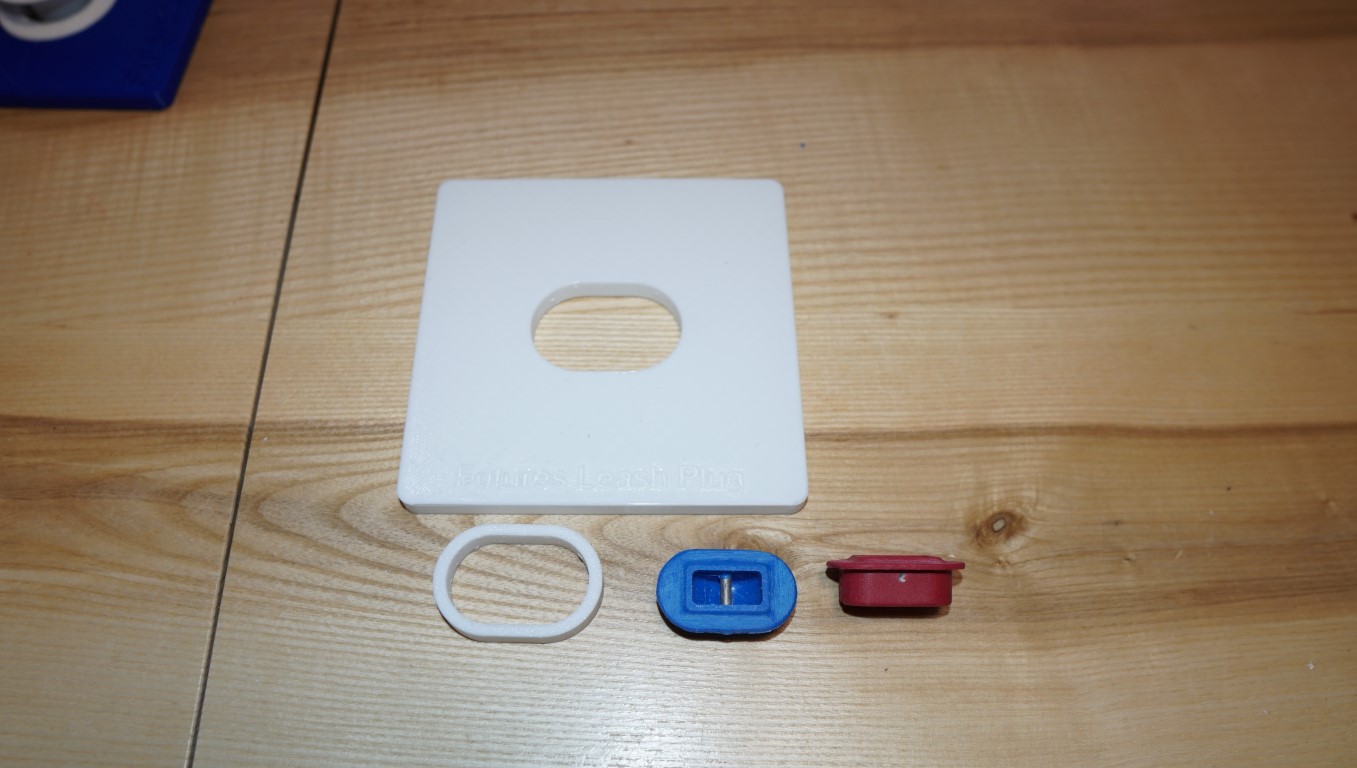
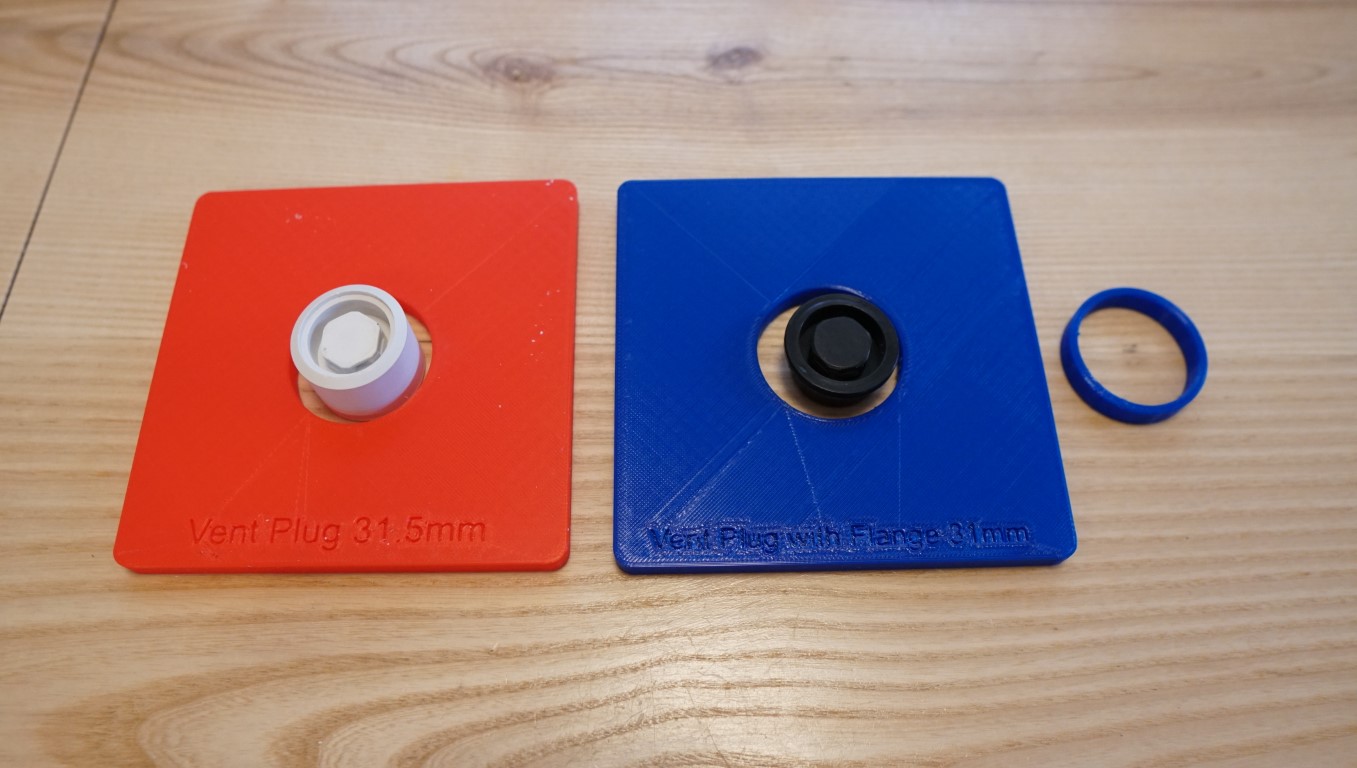
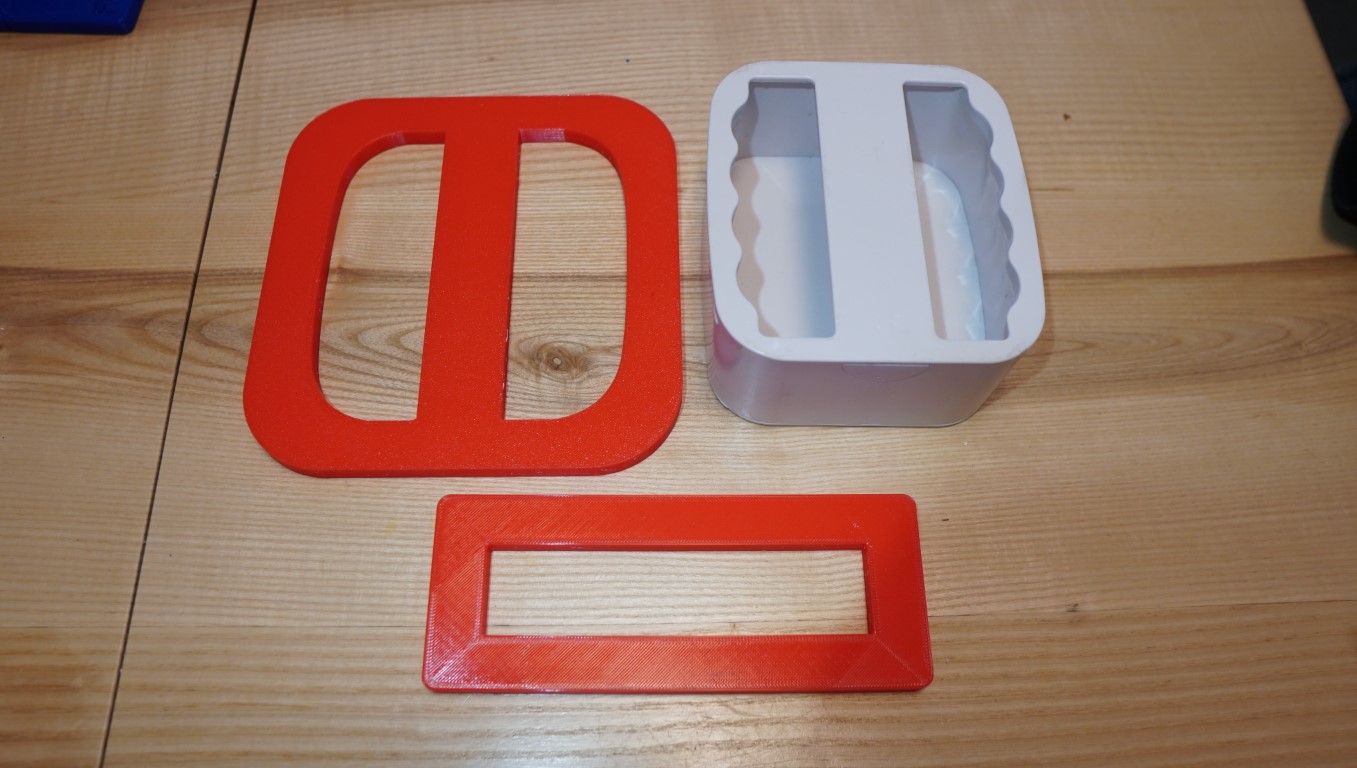
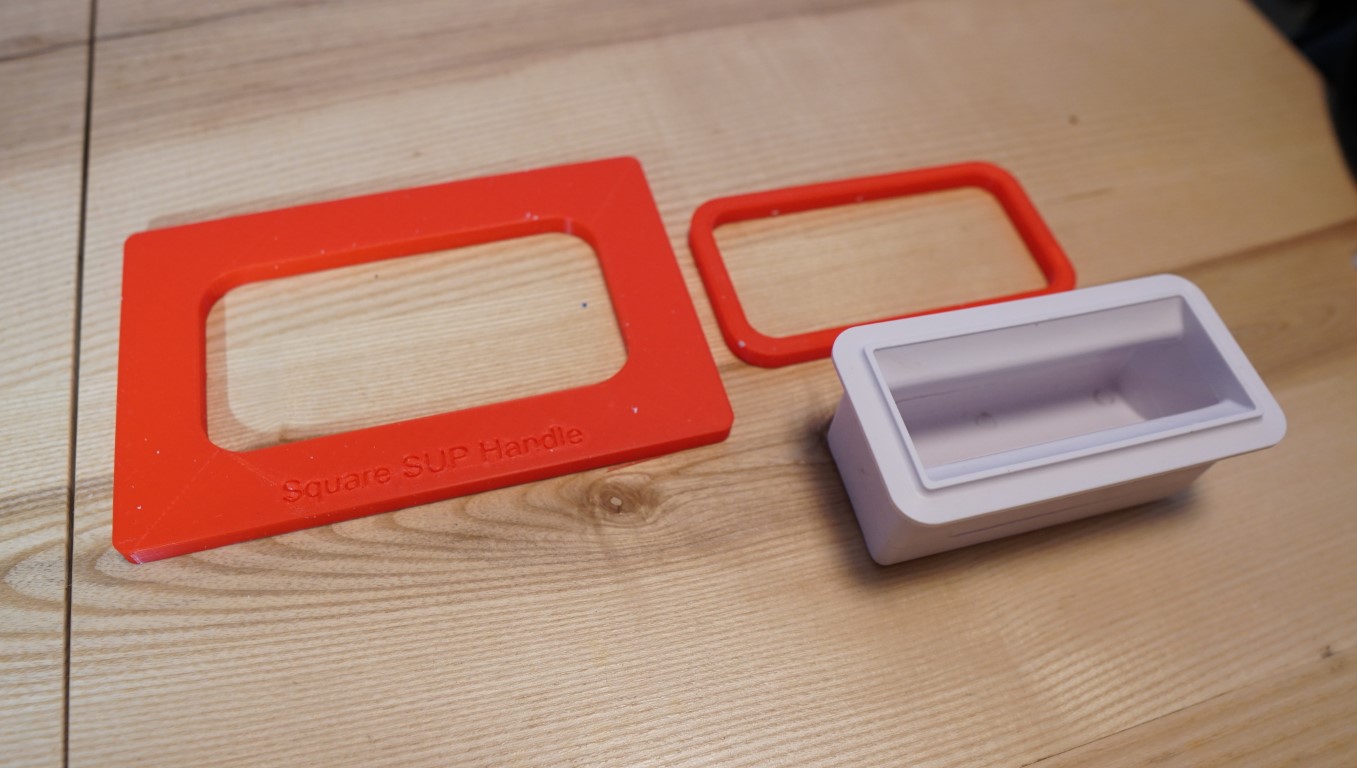
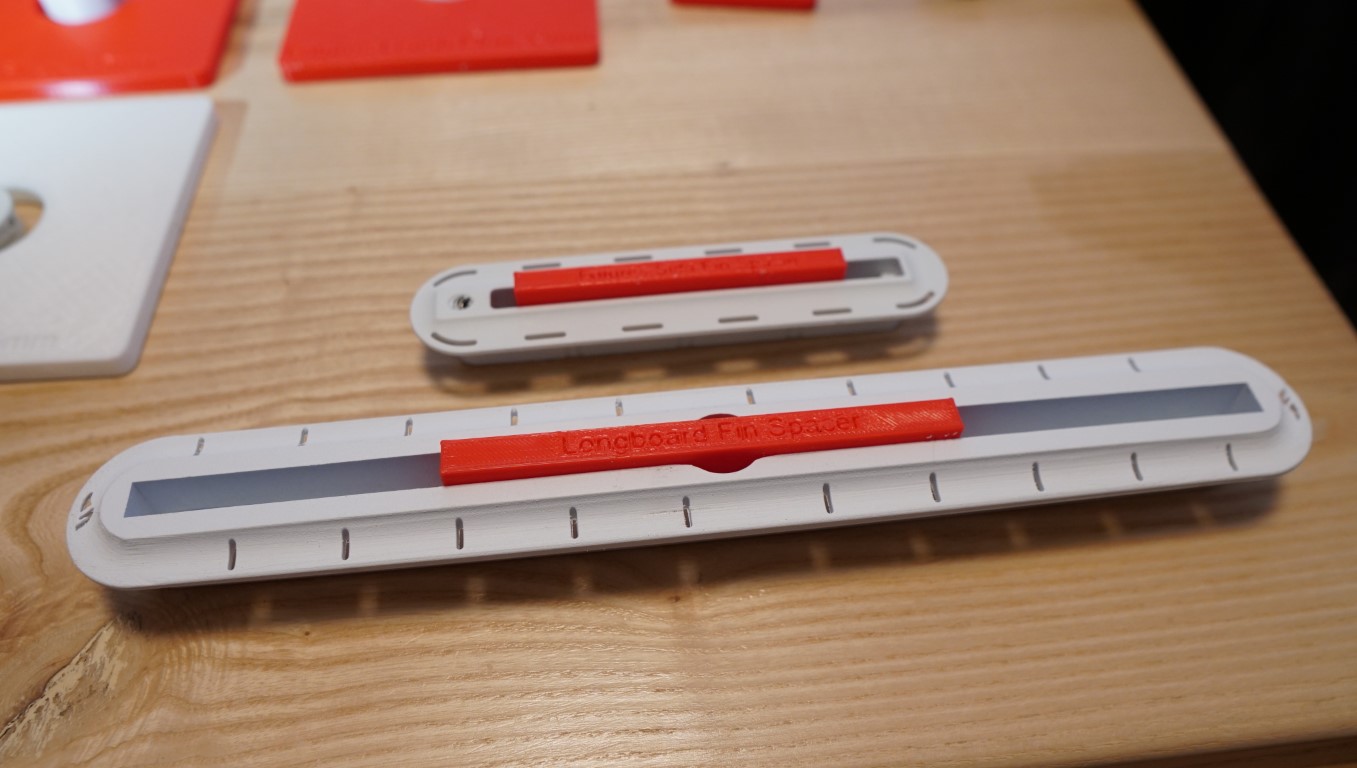
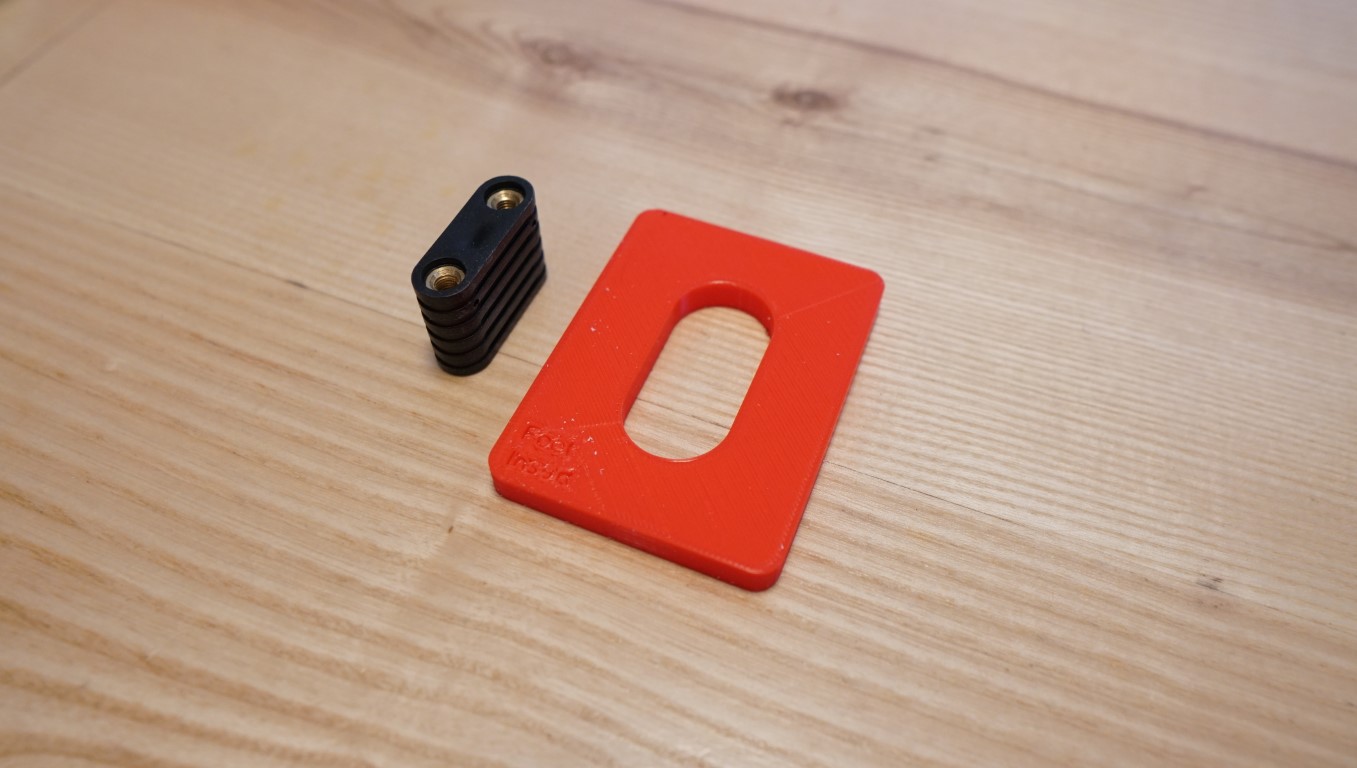
The STL router jig files can be 3D printed on any hobby grade 3D Printer. I have modeled jigs for the following fin boxes, leash plugs, vent plugs and handles. For the larger templates (Futures 1 Shot and Bahne) you will need to glue them together with CA glue, epoxy or Weld-On 16. The jigs are are all 8mm thick.
Slicer settings: 0.3mm layer height, 20% infill.
STL Files
Makita Router Bases
These are custom router bases that fit a Makita trim router (see below) to be used with the 3D printed router jigs. You have you a choice between using 1/4″ or 3/8″ straight twin flute router bits. My preference is to use the 3/8″ as they remove more material and you can get them in longer lengths that don’t deflect as much as the 1/4″ bit when routering deeper boxes like SUP handle boxes.
If you decide to 3D model your own router bases to use with my jigs, the outside diameter of the bushing that rides up against the jigs is 19.5mm for the 3/8″ bit and 16mm for the 1/4″ bit. I did include two additional versions for the router bases with smaller diameter bushings as different 3D printers have different tolerances so try them all out and see what works best for your set up.
To install, just remove old base and replace with the 3D printed one.
Slicer settings: 0.2mm layer height, 30% infill.
STL Files:
| Makita Router Base for 1/4″ Straight Bit | 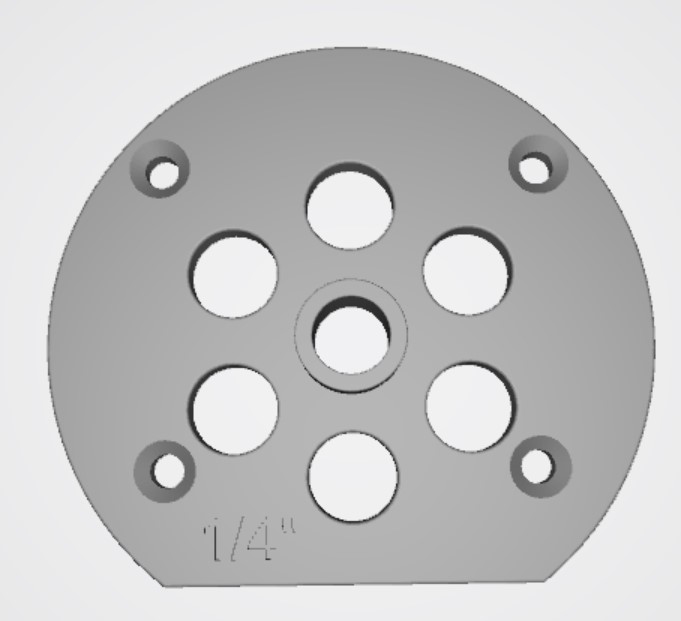 |
| Makita Router Base for 3/8″ Straight Bit Makita Router Base for 3/8 Straight Bit – V2 Makita Router Base for 3/8 Straight Bit – V3 | 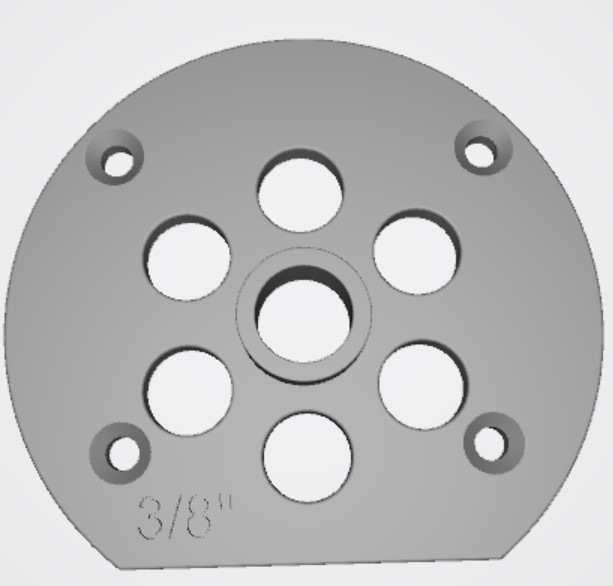 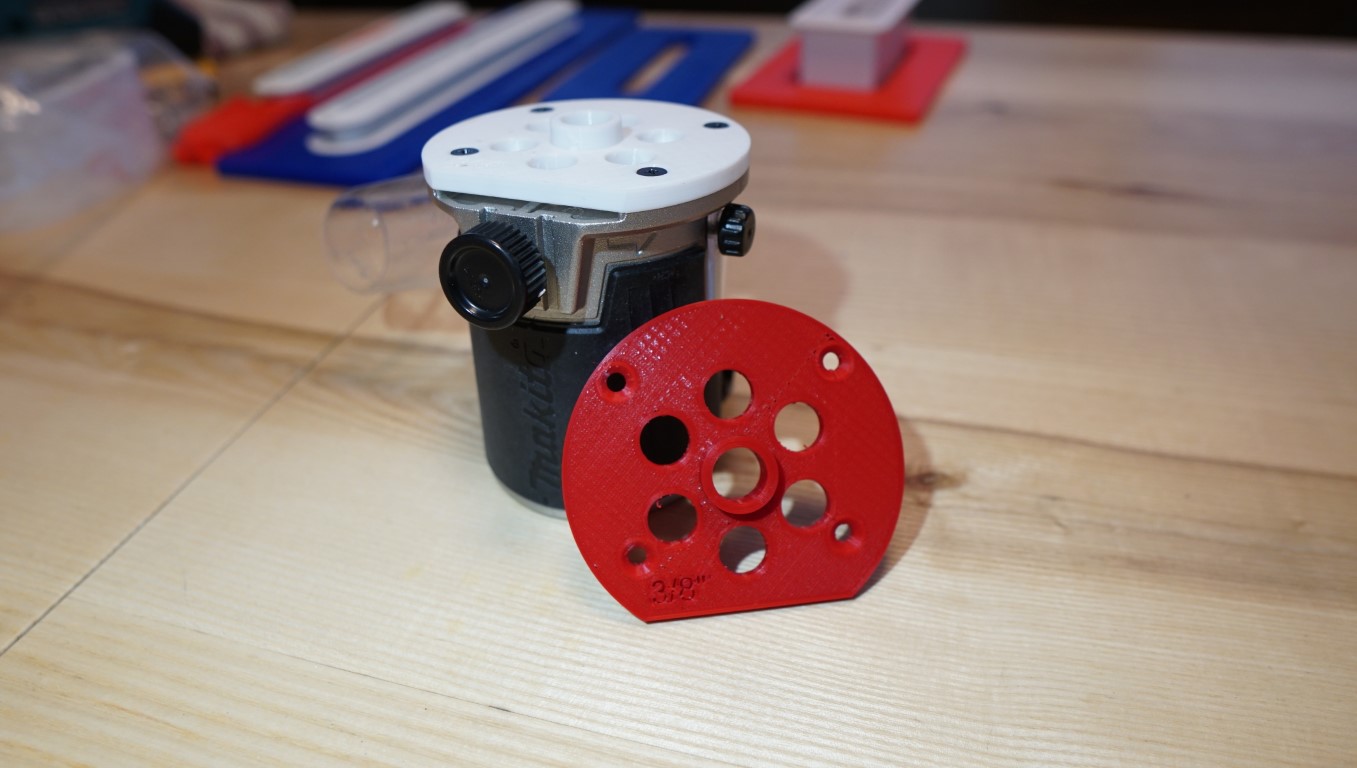 |
Makita Router
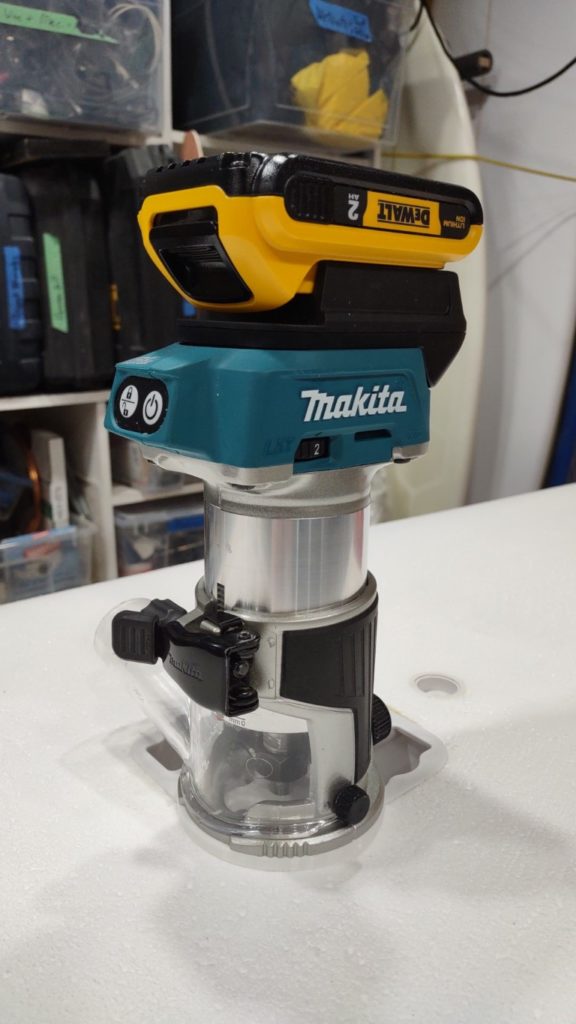
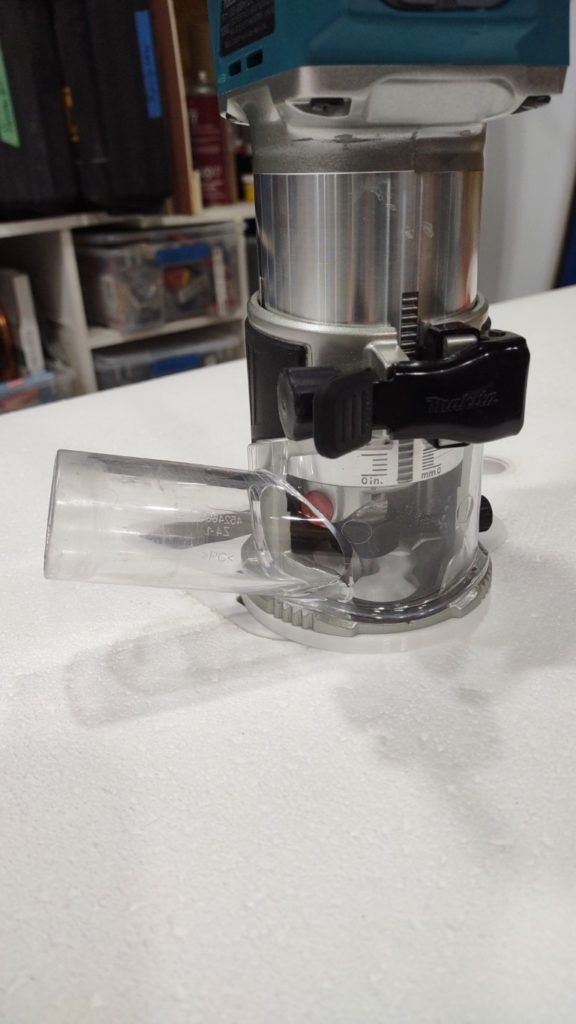
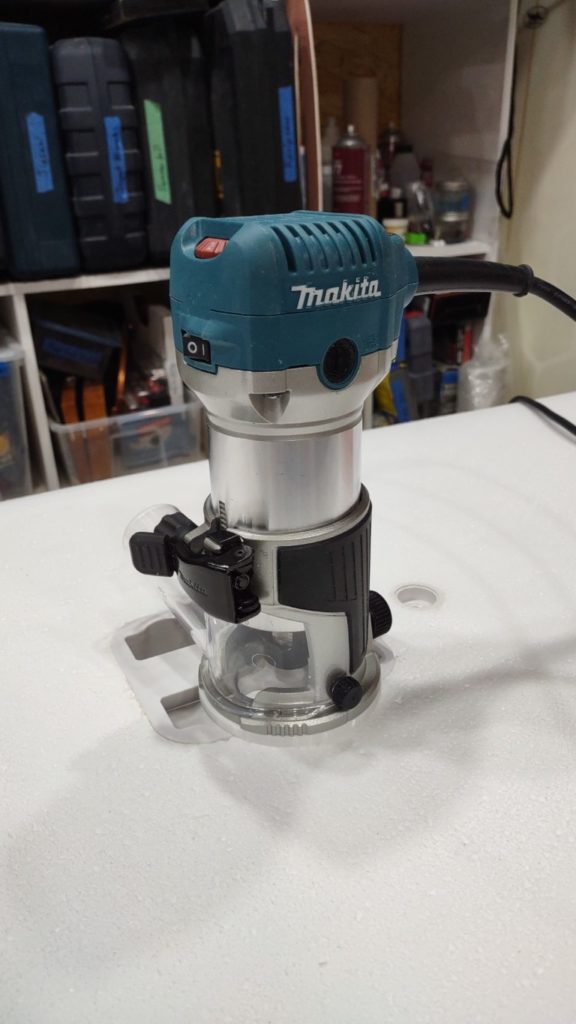
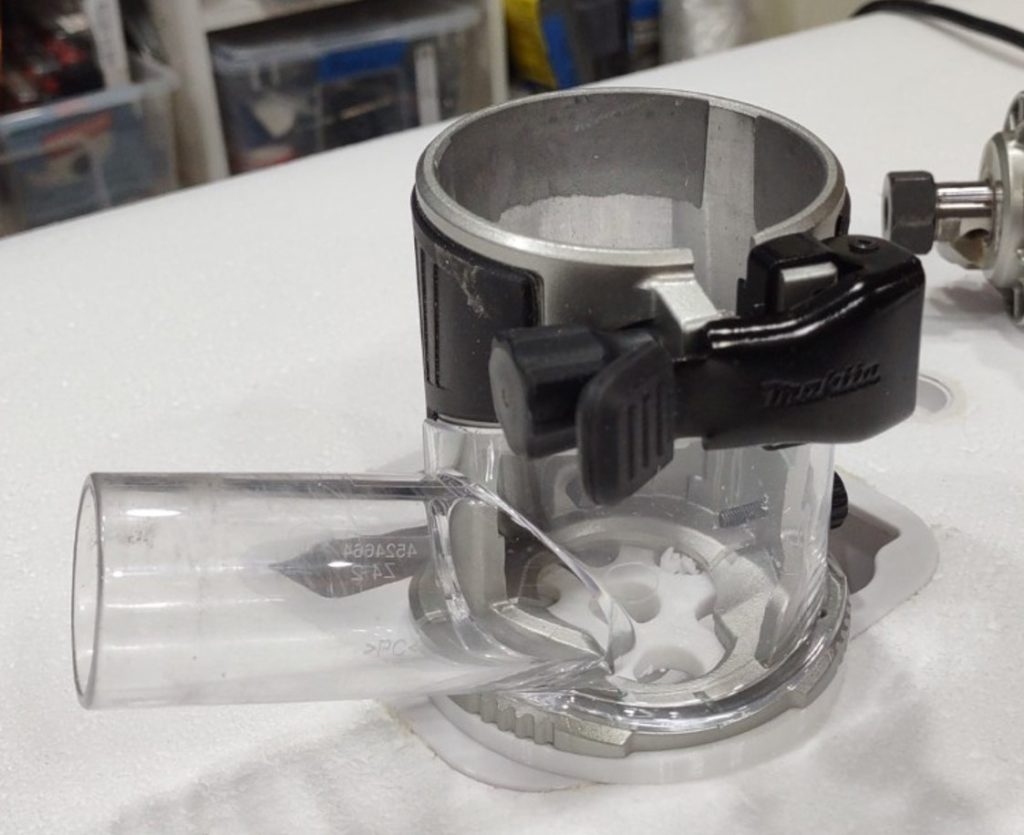
To use these 3D Printed Router Jigs you will need a Makita RT0701C 1.25 HP Compact Router or Makita DRT50ZX4 18V Brushless Router. There might be a few variations in the model number depending on the country the router is sold or the included accessories. The router base should look like the one in the picture below and I recommend you get the dust extraction attachment too. The reason why I use this router is it’s the most common and popular trim router in my opinion, not to mention it’s a fantastic router, that can be used for other projects.
How to Use
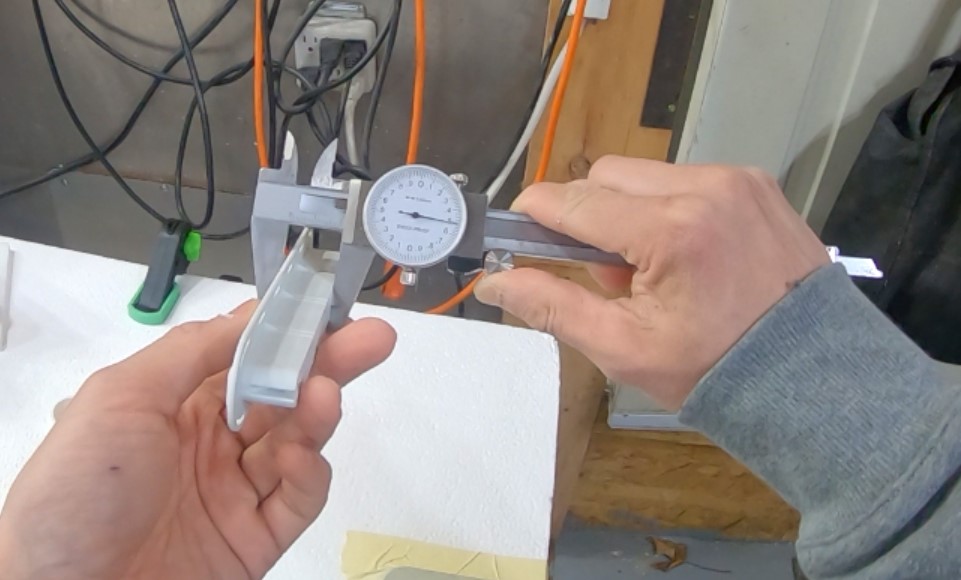
To use the router jigs is easy but you will also need a caliper to measure the depth of the fix boxes or plugs. Ideally an inexpensive measuring caliper such as a dial, vernier or digital. My preference is a metric dial caliper as they are easy to read.
I recommend that you test on a scrap piece of foam before you try on a real surfboard! Also make sure to have the custom 3D printed router bases and router bit installed on the Makita router before starting the following steps.
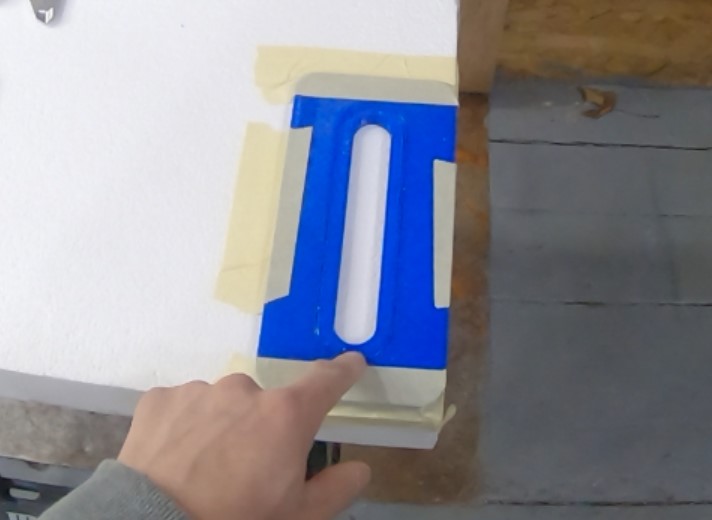
Step 1 – Mark out the location of where you want the fin box (or other item) to be installed.
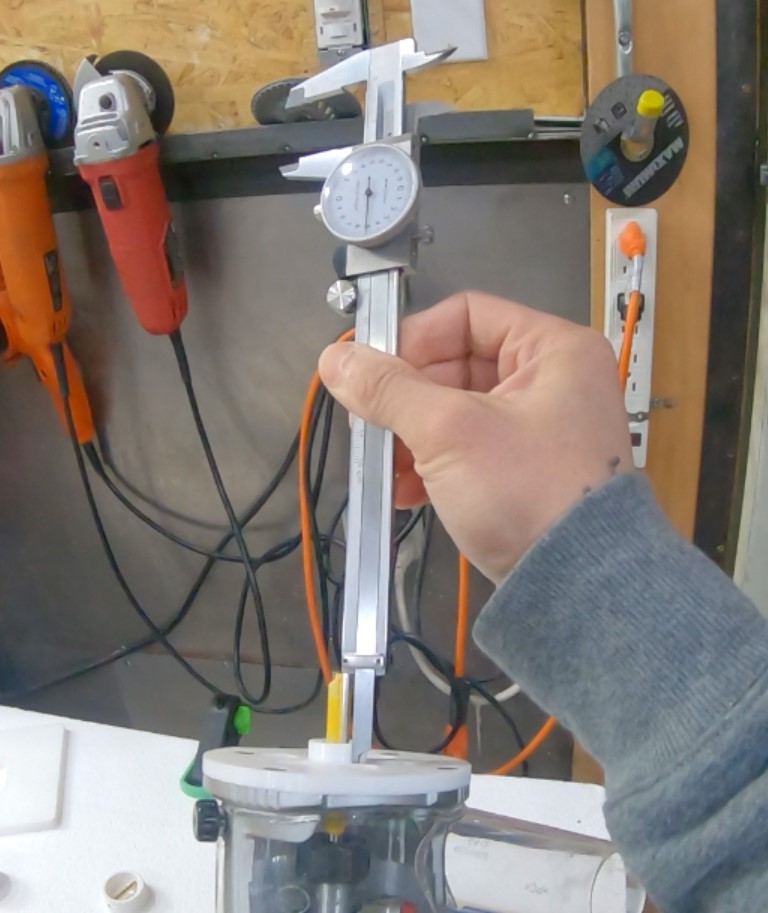
Step 3 – Measure the depth of the fin box and add 8mm to that measurement. The 8mm is the thickness of the 3D printed jigs. Set the depth of the router bit, using the rear part of the caliper (or ruler).
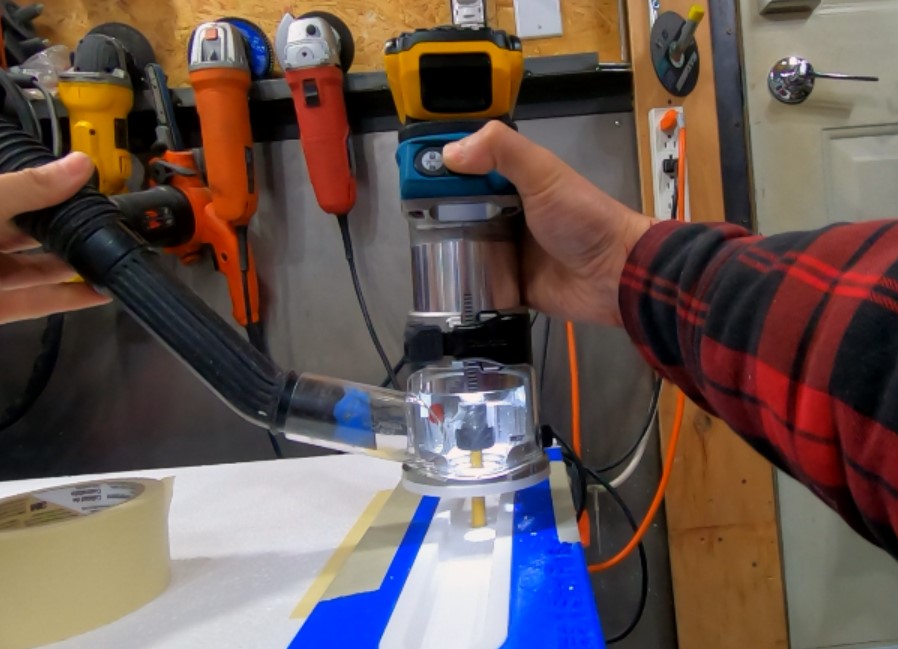
Step 4 – Start the router and set to a medium speed. Carefully plunge the router bit into the foam, the router bit can wander a bit so use both hands to steady the router when doing this. Plunging a spinning router bit into soft foam is relatively safe but I would NOT do this if you were trying to router out harder materials like wood for a wooden surfboard. In those applications, predrill a hole for the router bit, set the router bit in the hole and then turn on the router. As well make multiple shallow passes, these 1/4″ router bits are not super durable.
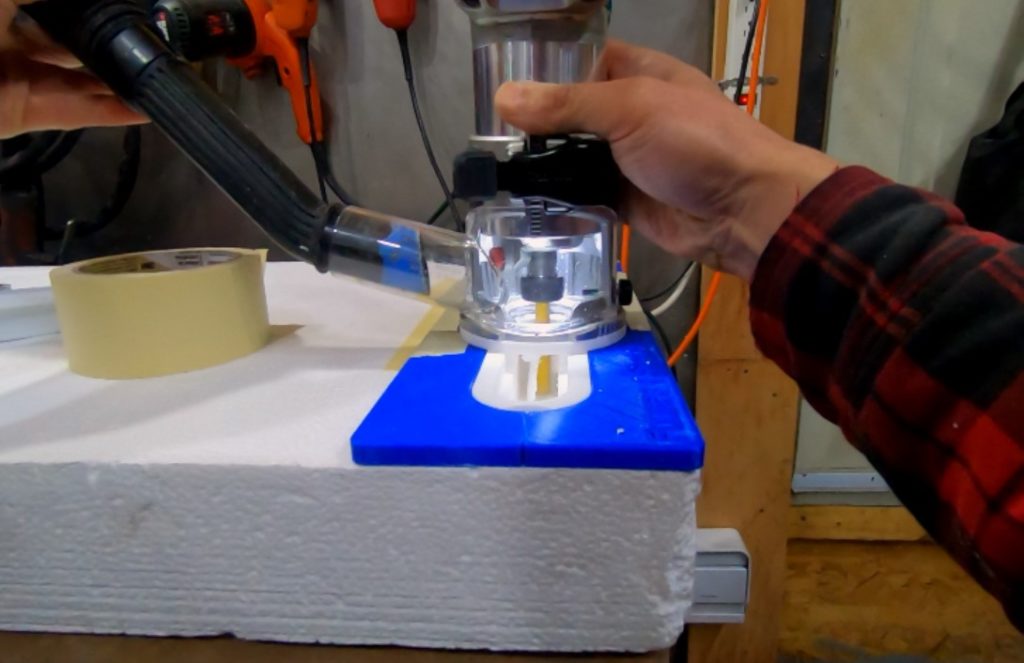
Step 5 – Run the bushing of the 3D printed router base against the edge of the jig. Complete a few passes to ensure all the foam is removed. Shut the router off and wait for the bit to stop completely before removing the router. Also, use the vacuum attachment if you have one, really keeps the mess and dust down.
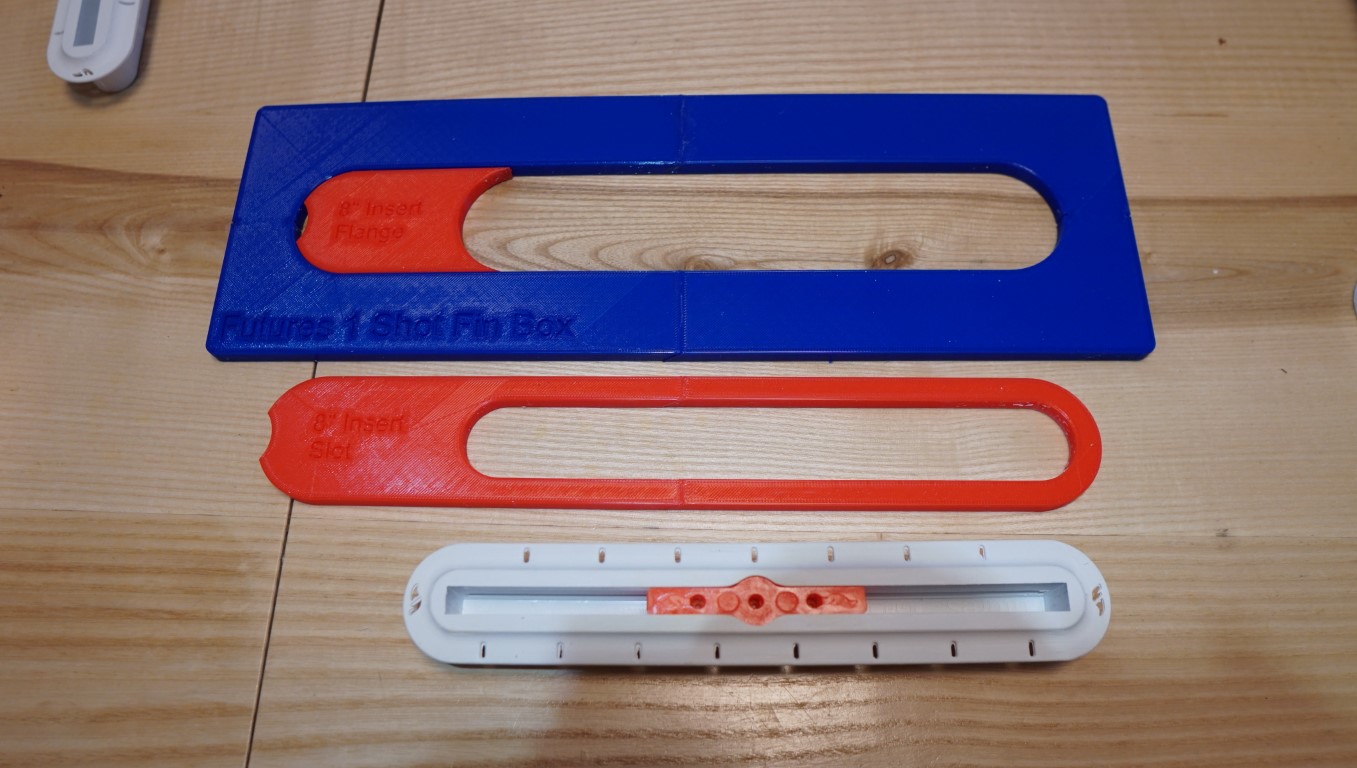
Notes: If you are routering the jigs with inserts like the Futures fin box, router out the slot first and then remove the insert and router out the flange. This ensures proper alignment of the slot and flange of the fin box. However it’s not the end of the world if you move the jig and have to realign it.
Video
Here is a video about these jigs and how to use them.
